SWISSORS® Mark II
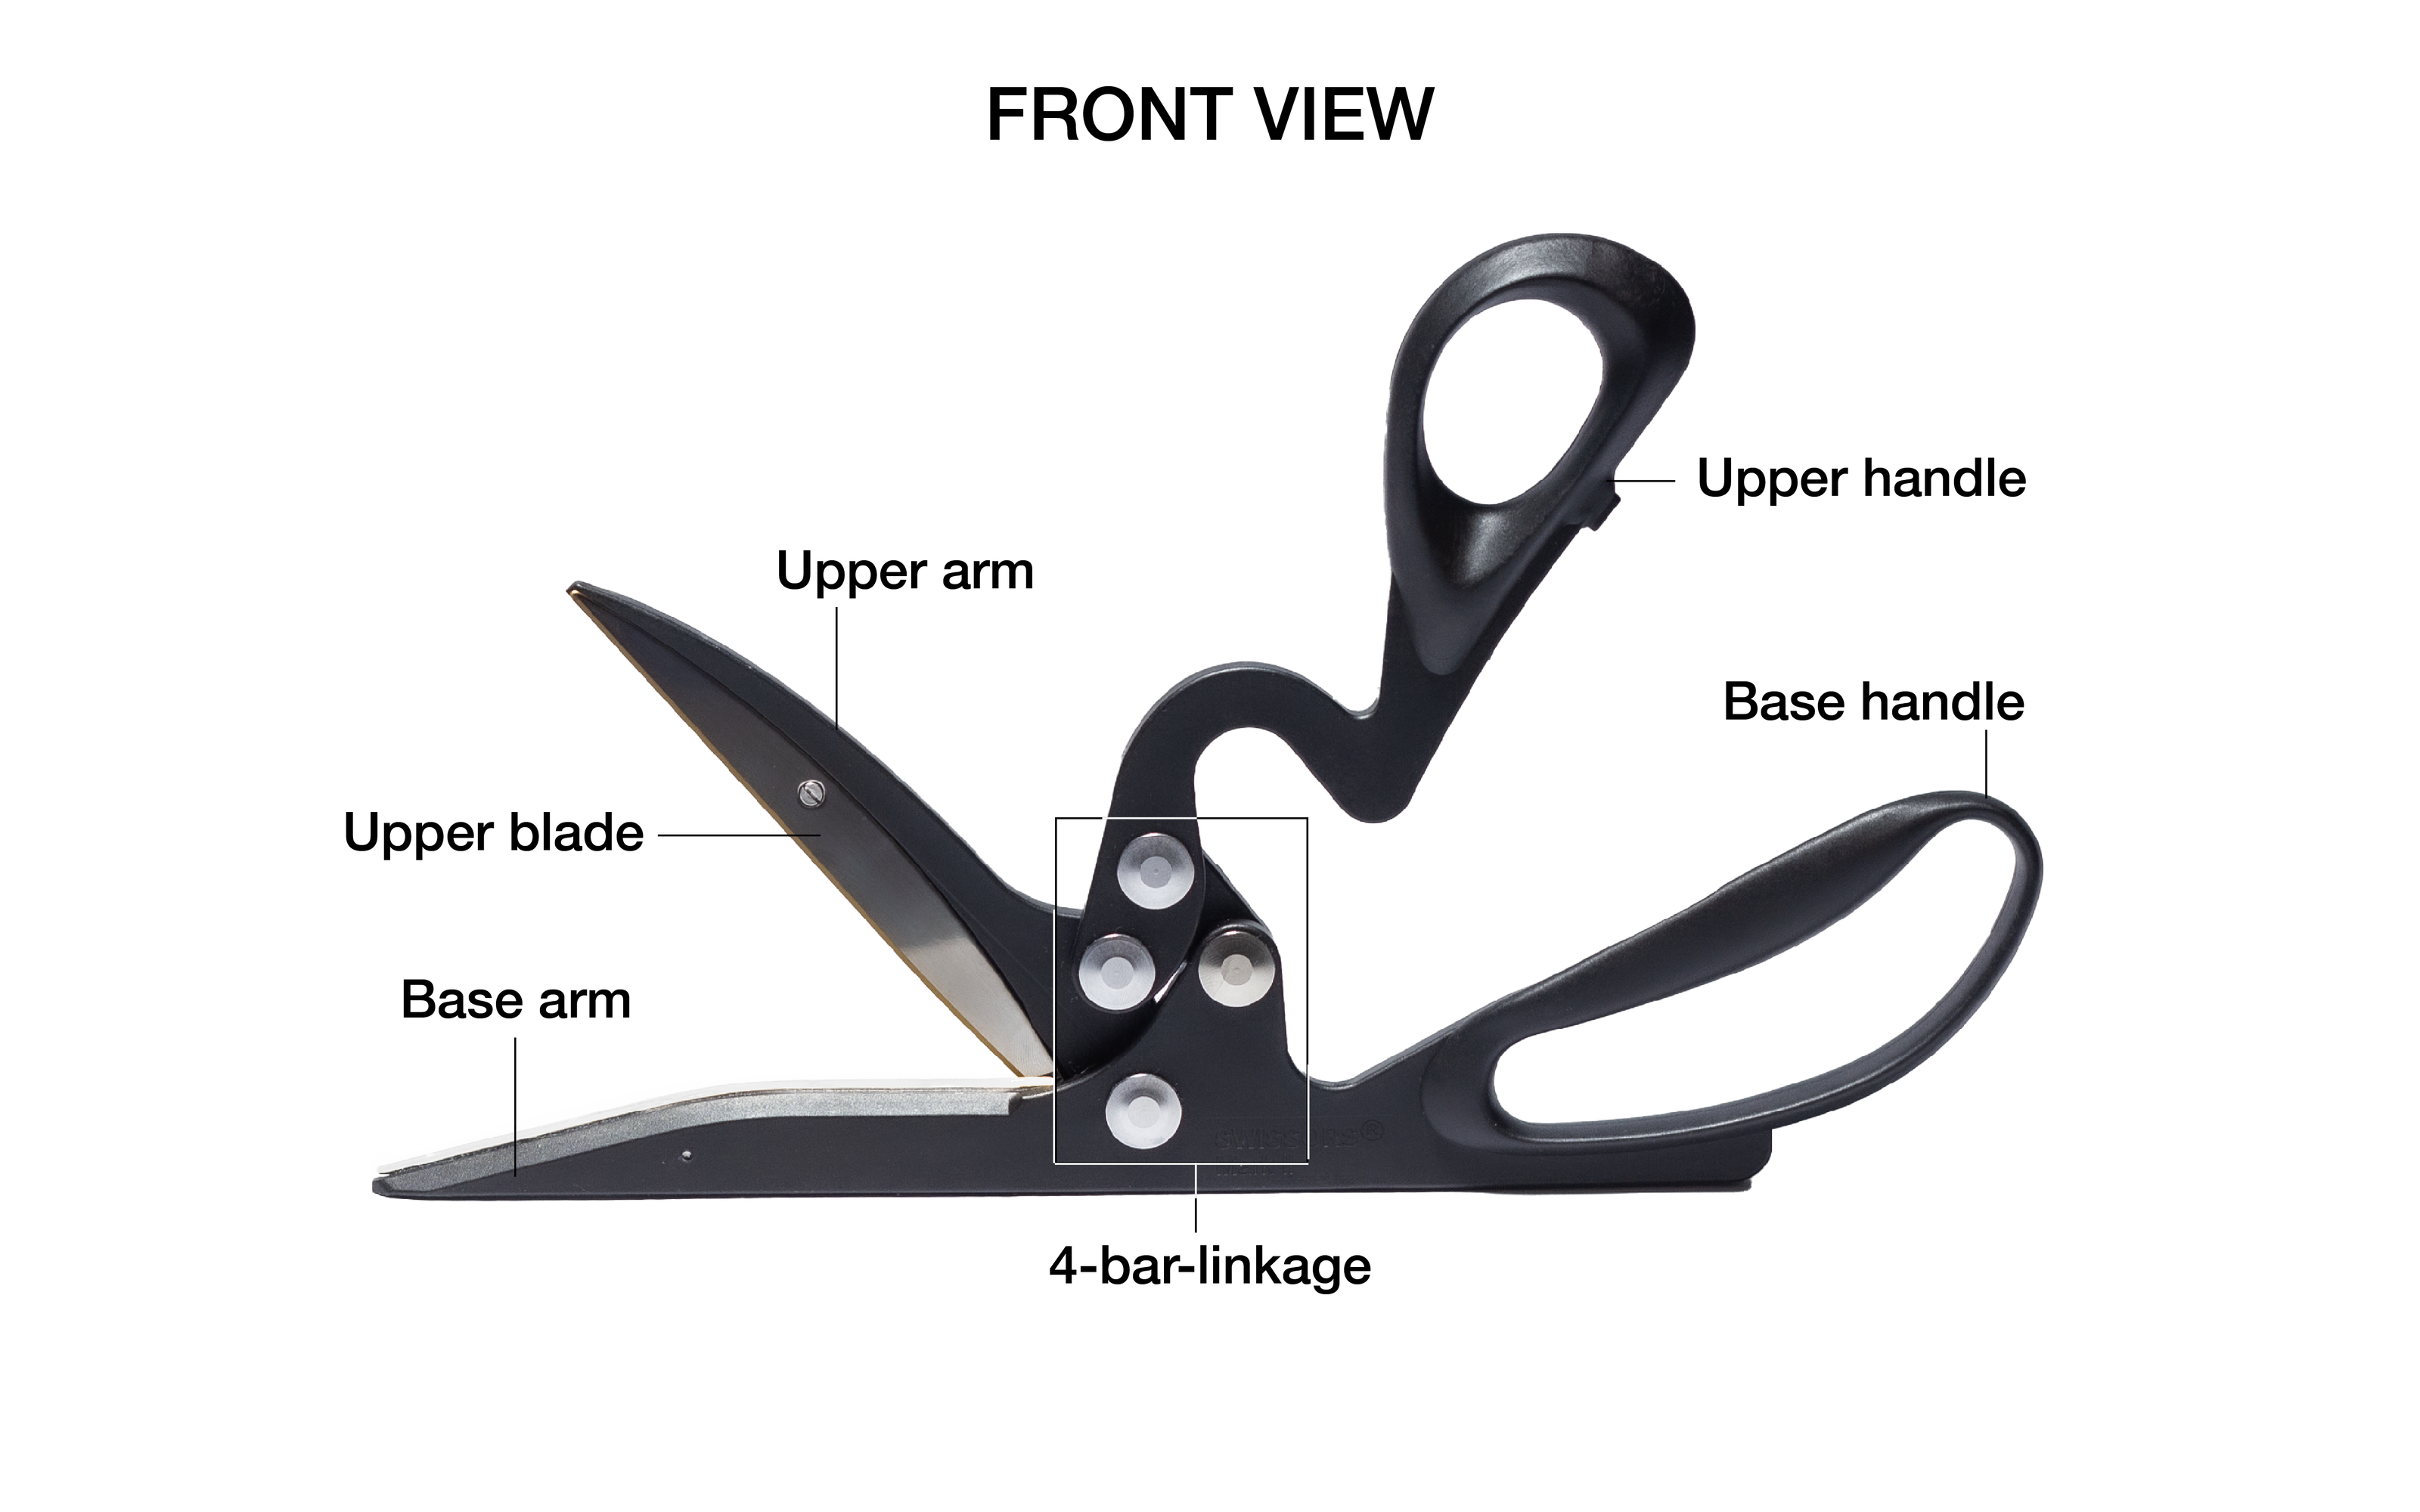
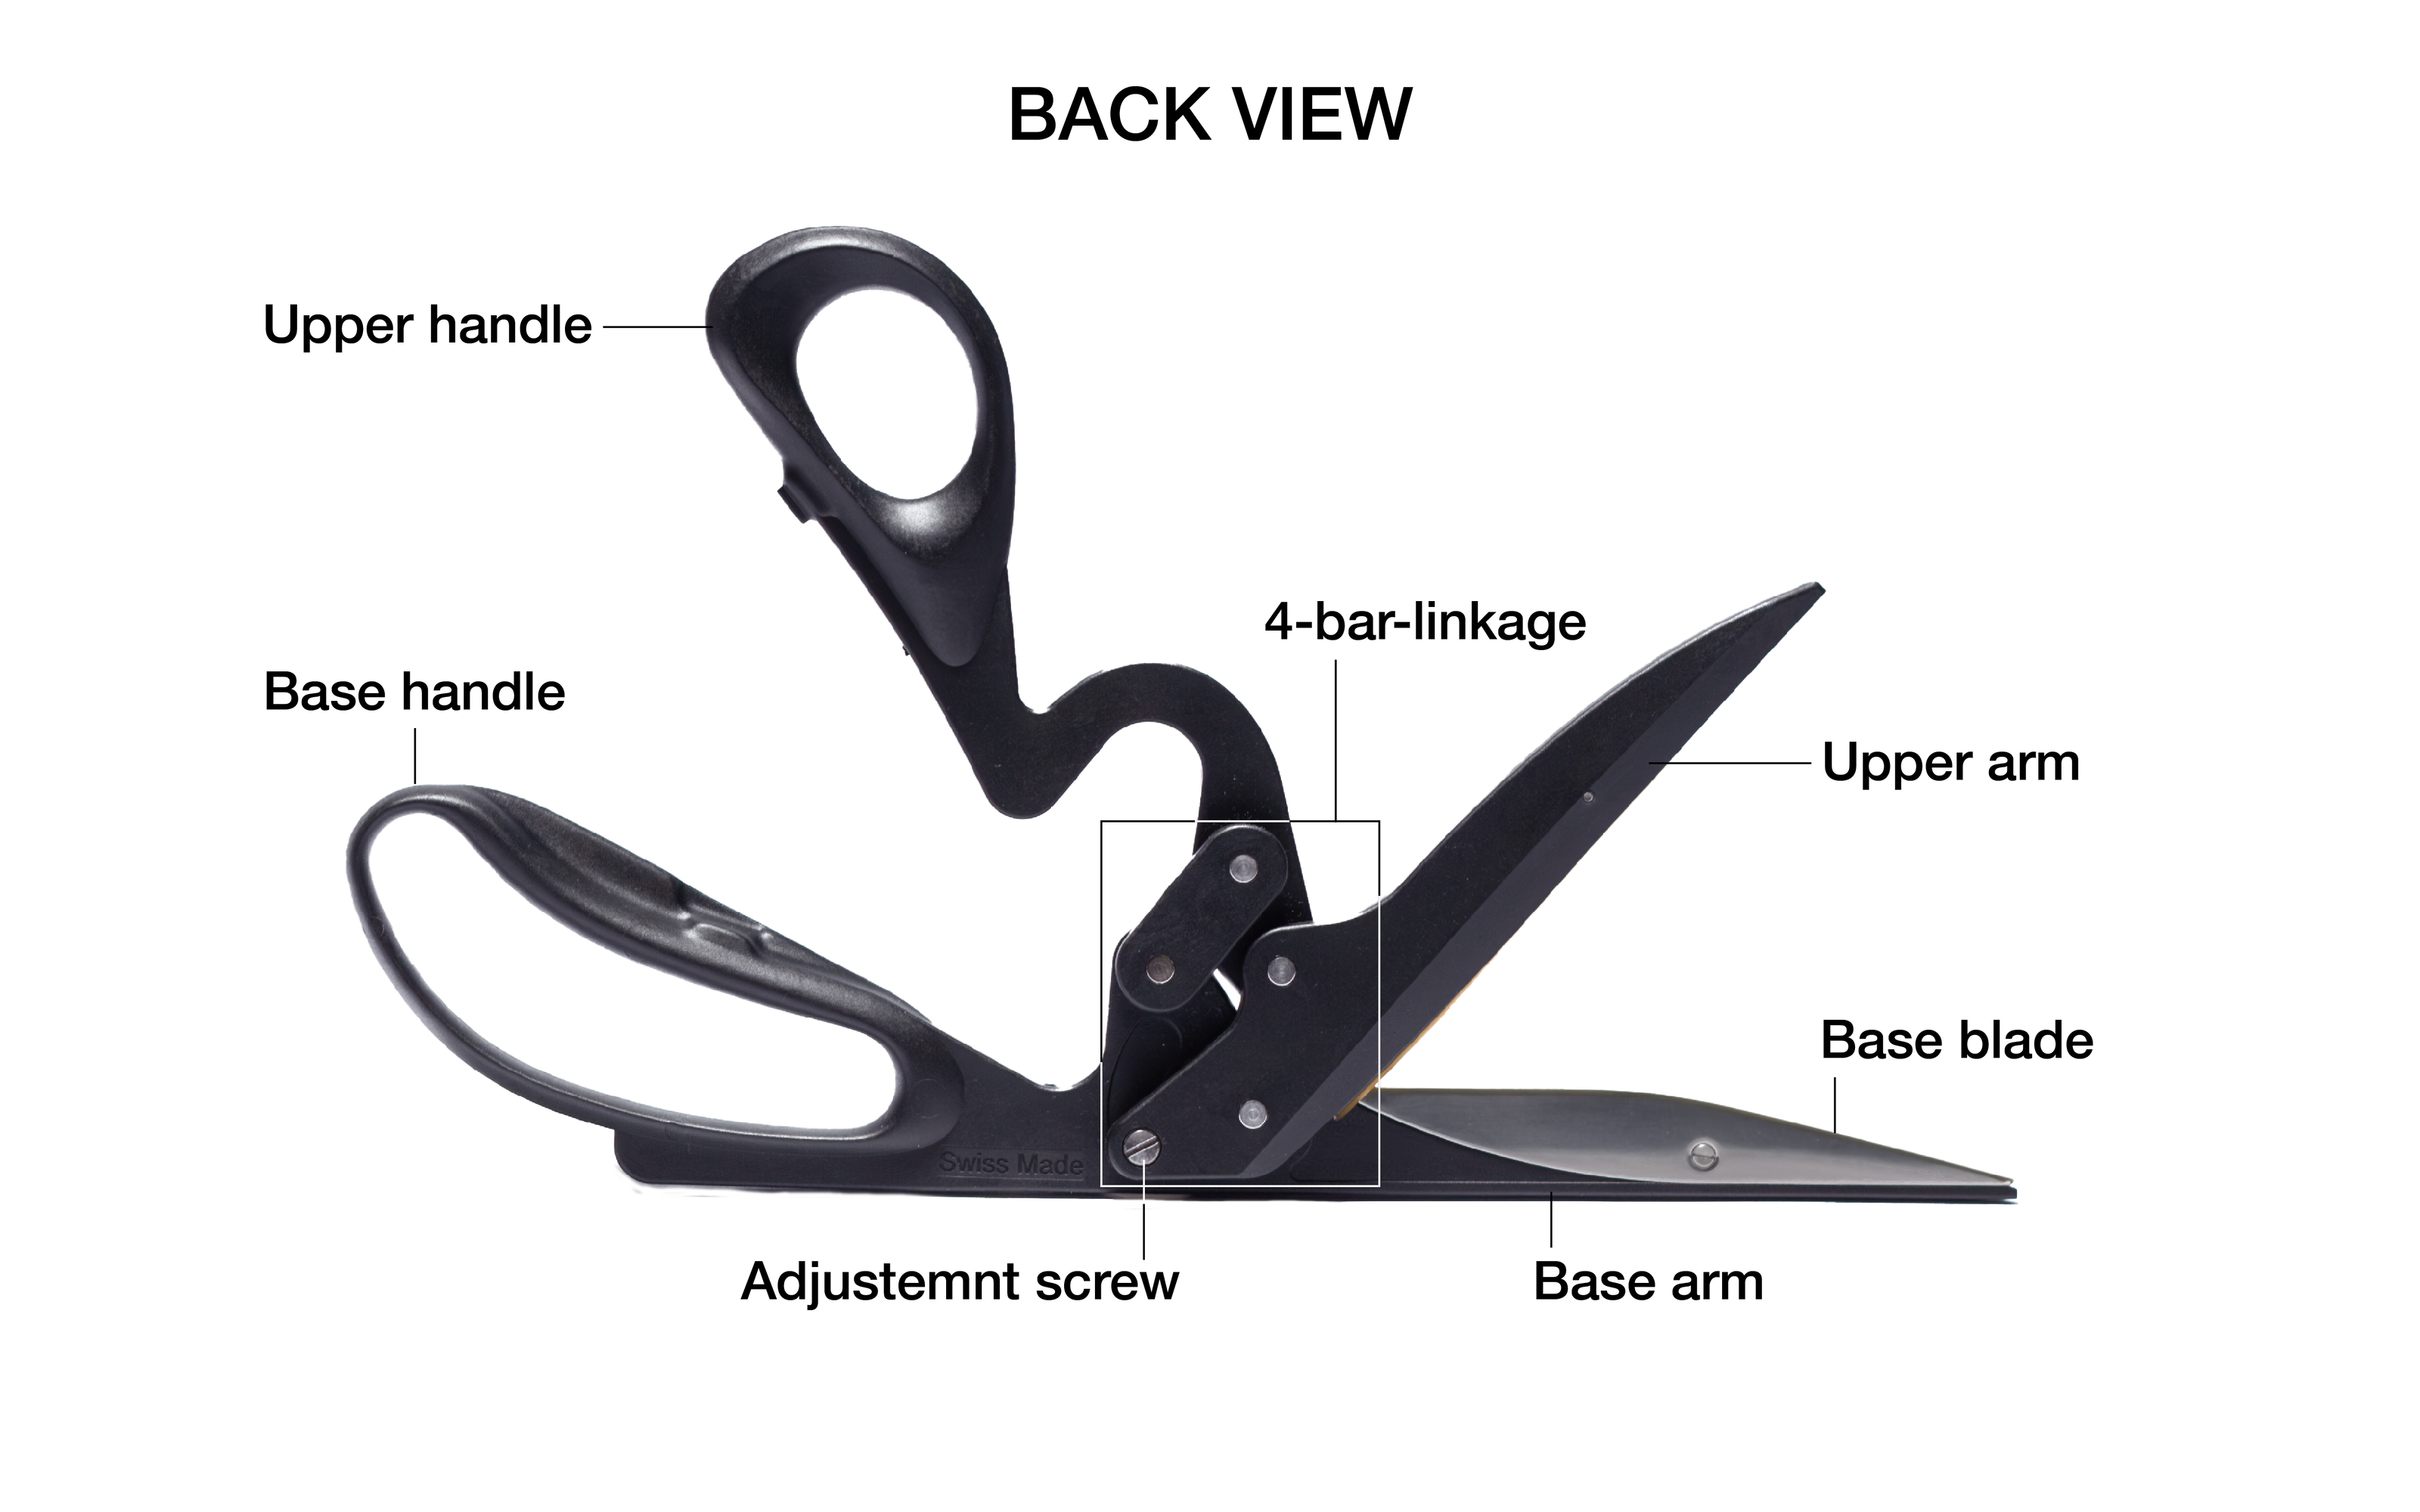
Instructions Blade Exchange
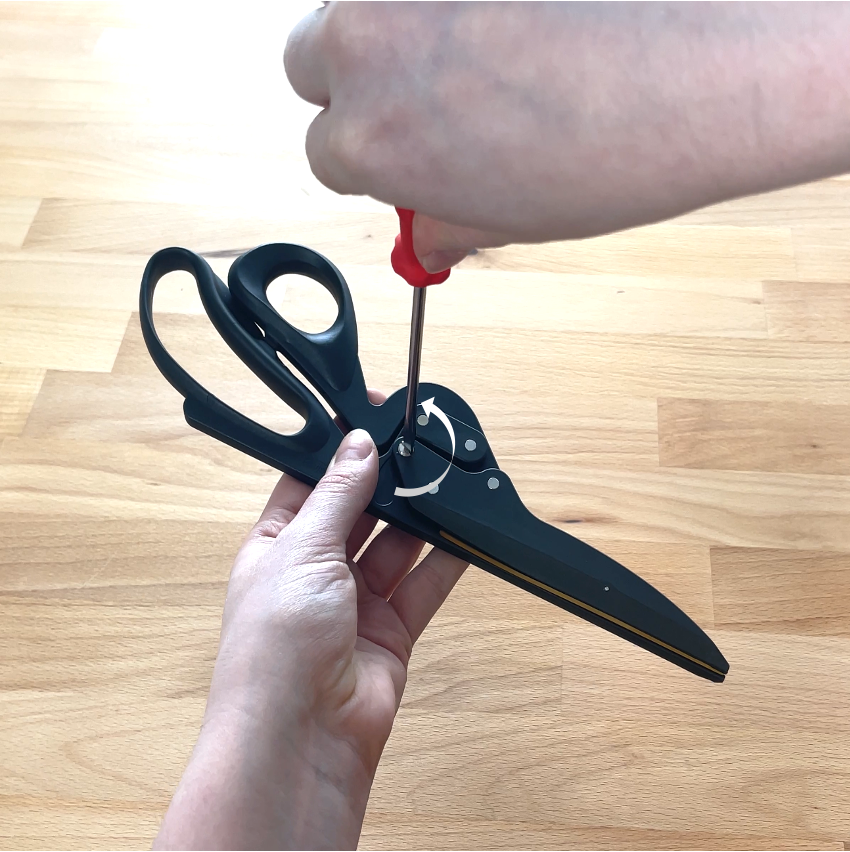
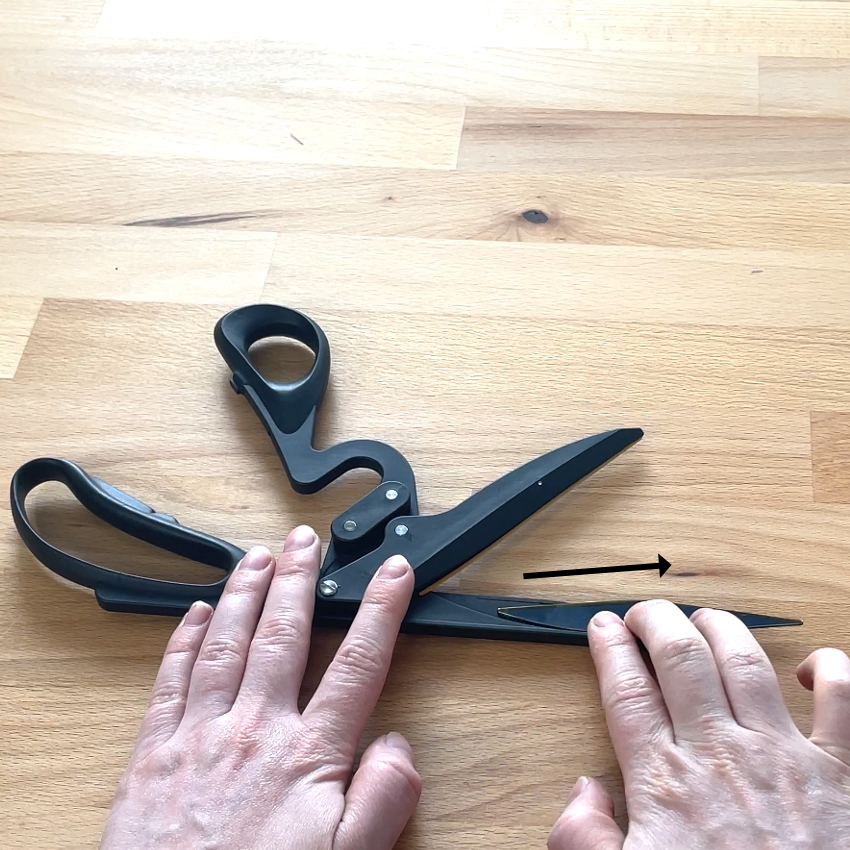
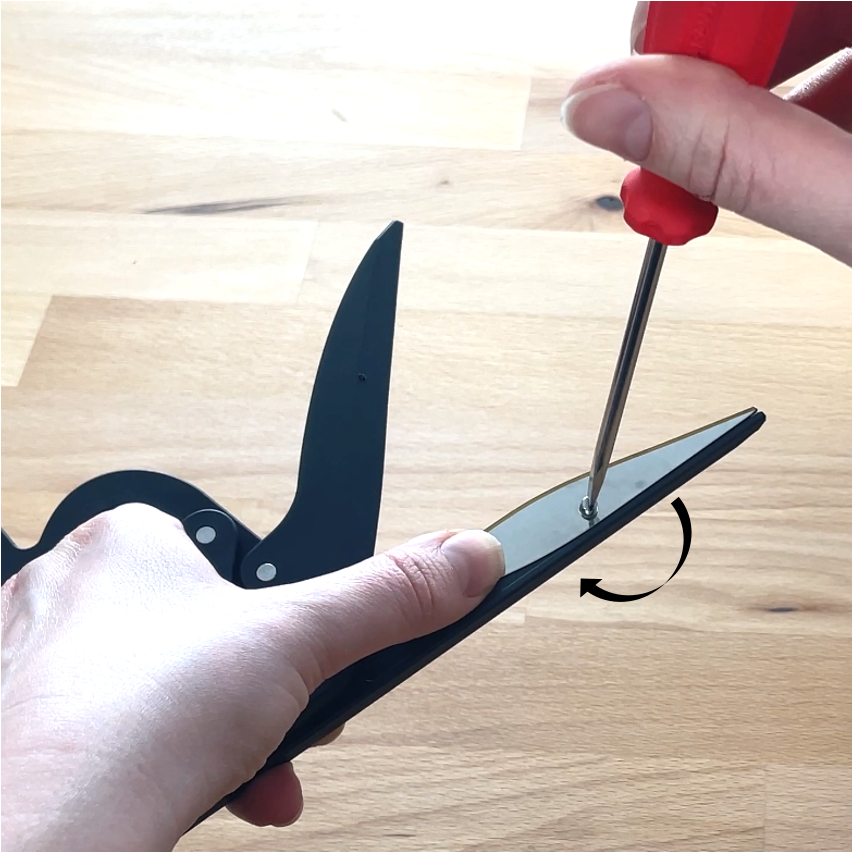
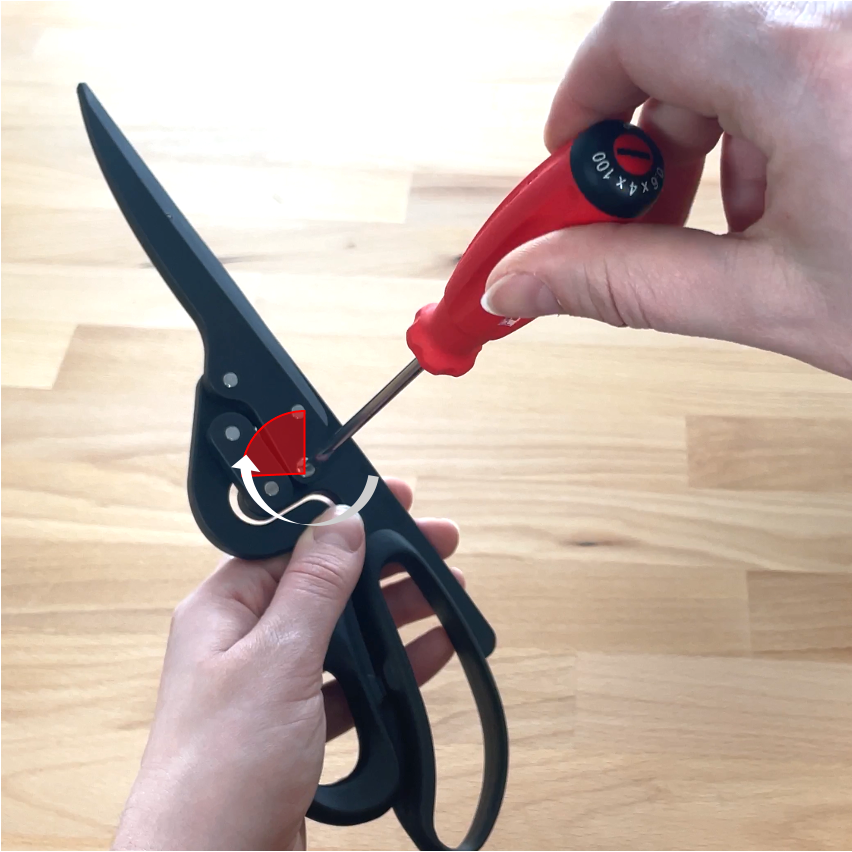
Loosen the adjustment screw with a slotted screw driver by slightly turning until you feel less resistence
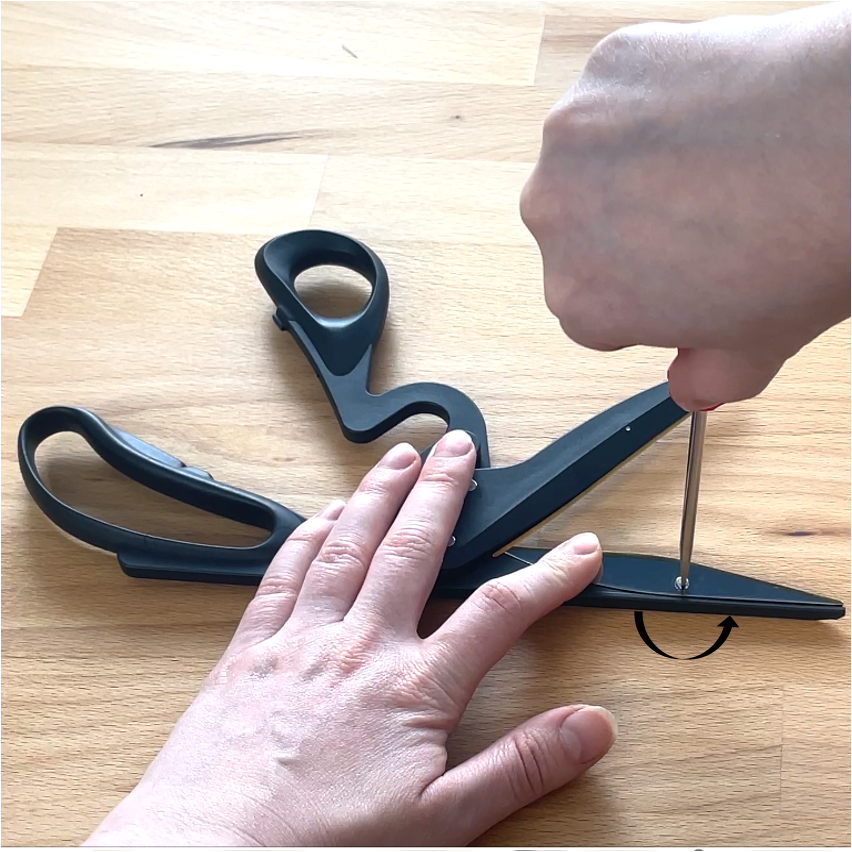
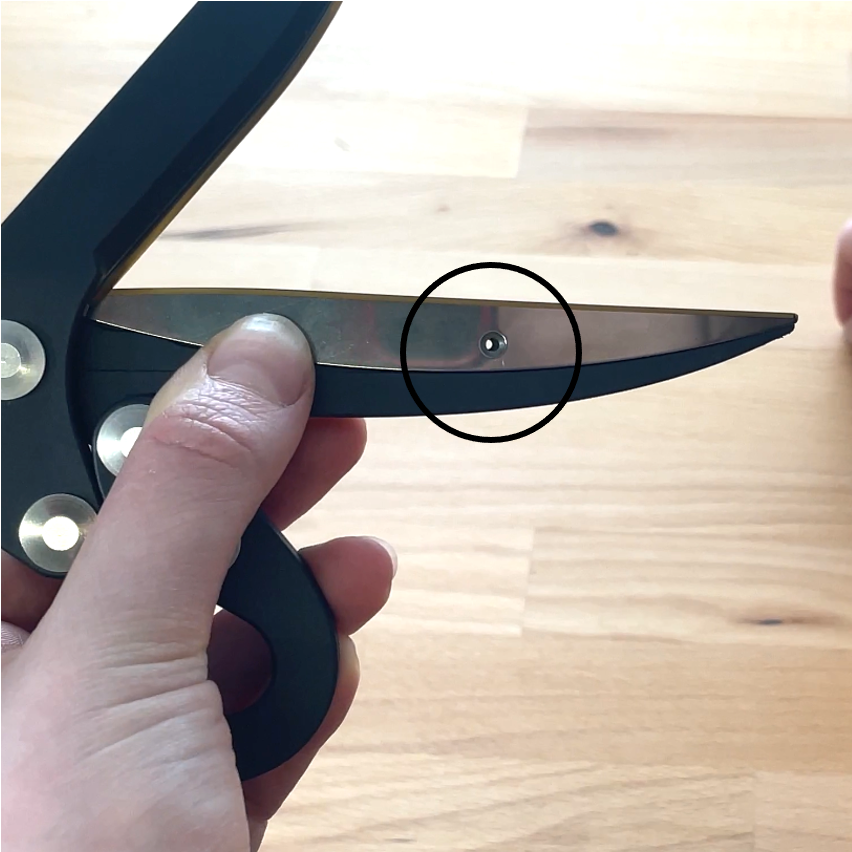
Open the scissors and unscrew the base blade with a Philips (+) screwdriver
Slide the base blade out of the base arm
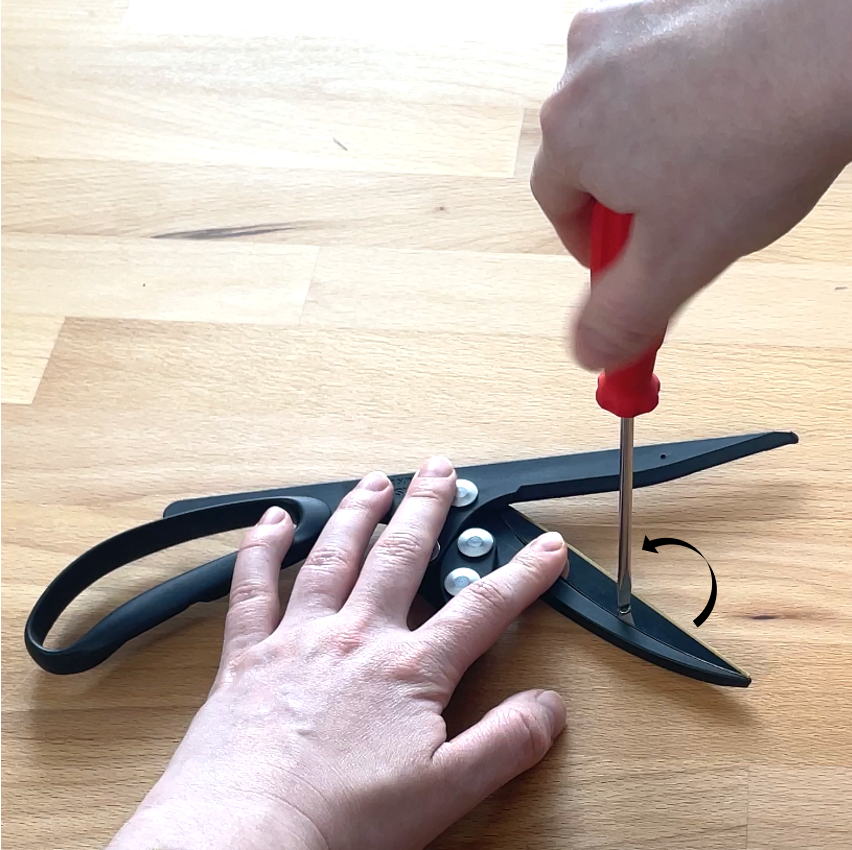
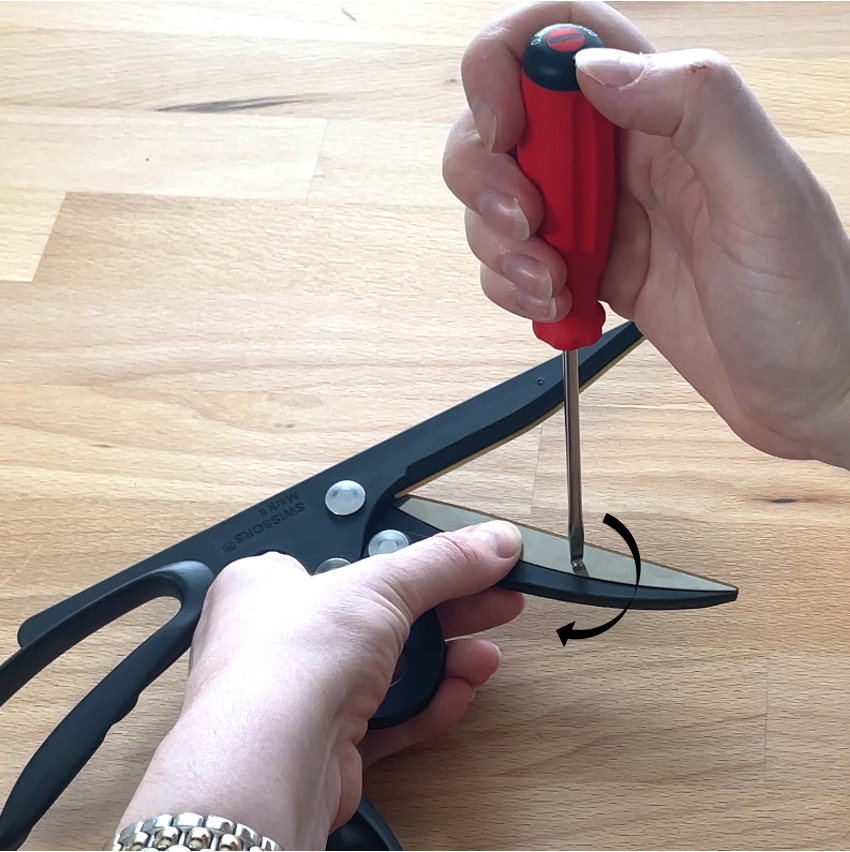
Turn the scissors around and unscrew the top blade
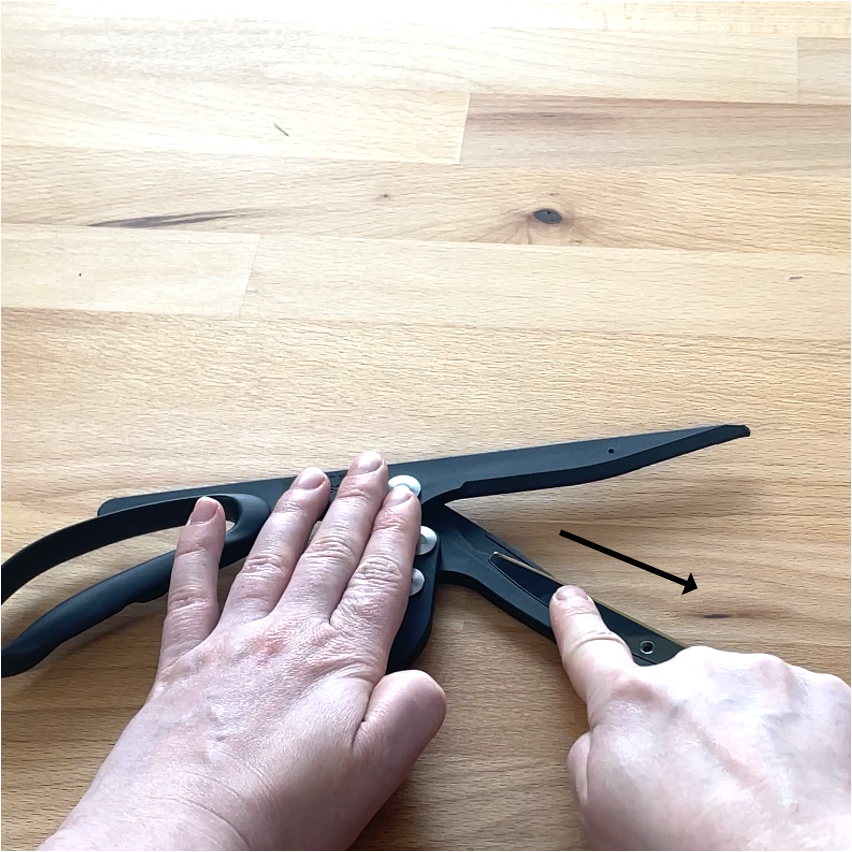
Slide out the top blade out of the top arm
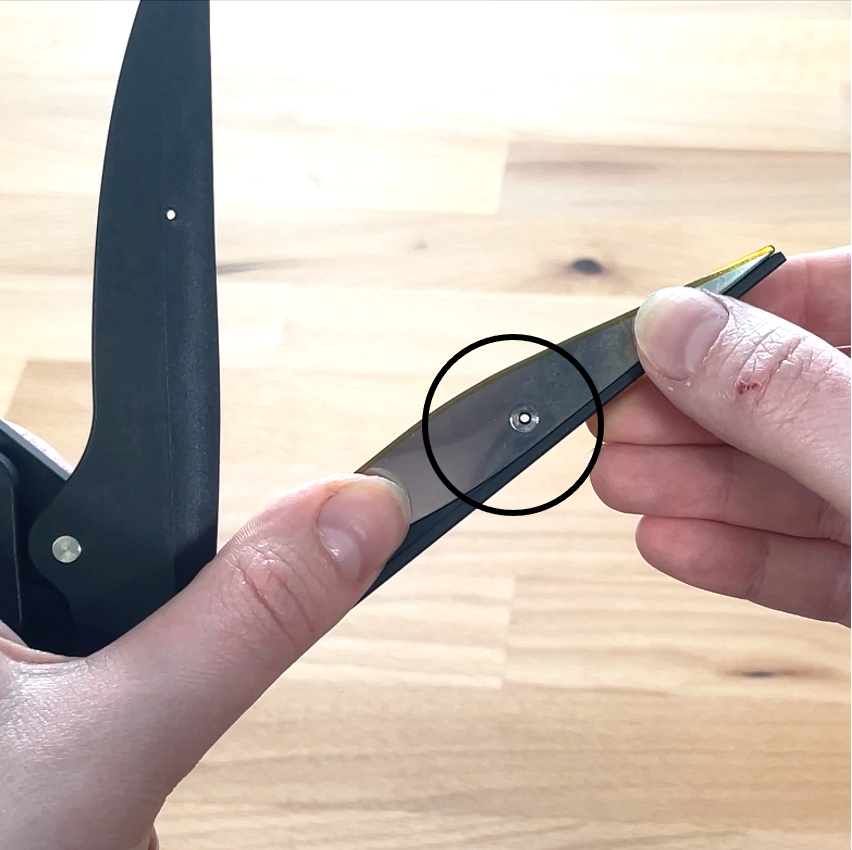
Place a new bottom blade in the base arm by sliding it in and align it with the screw hole
Add the screw and tighten the top blade firmly
Place a new top blade in the top arm by sliding it in and align it with the screw hole
Add the screw and tighten the top blade firmly
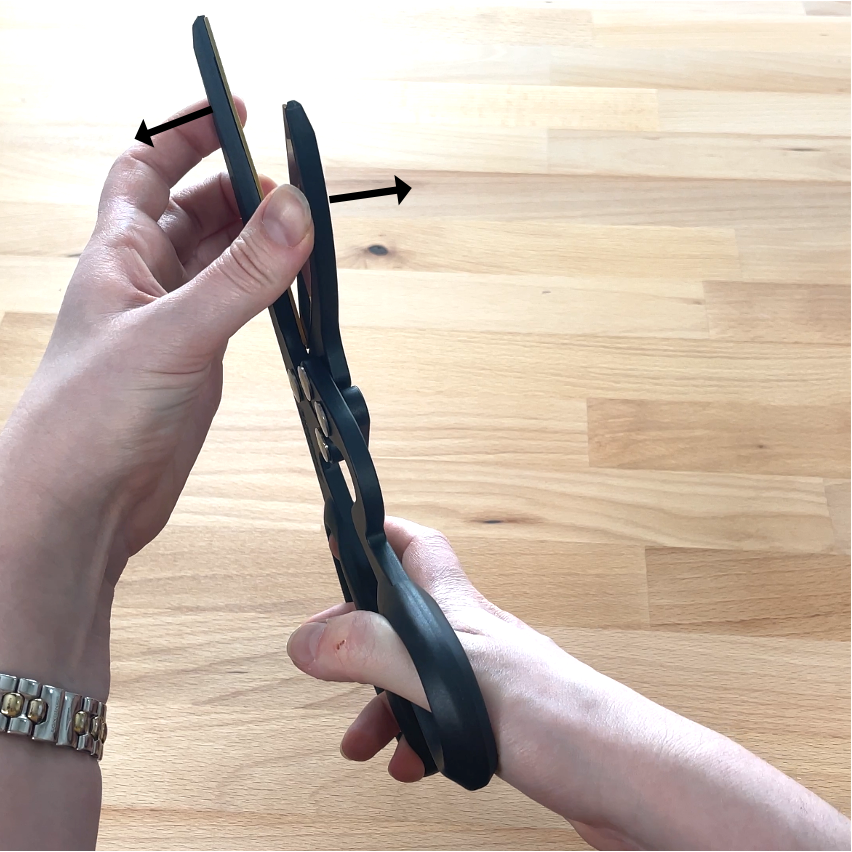
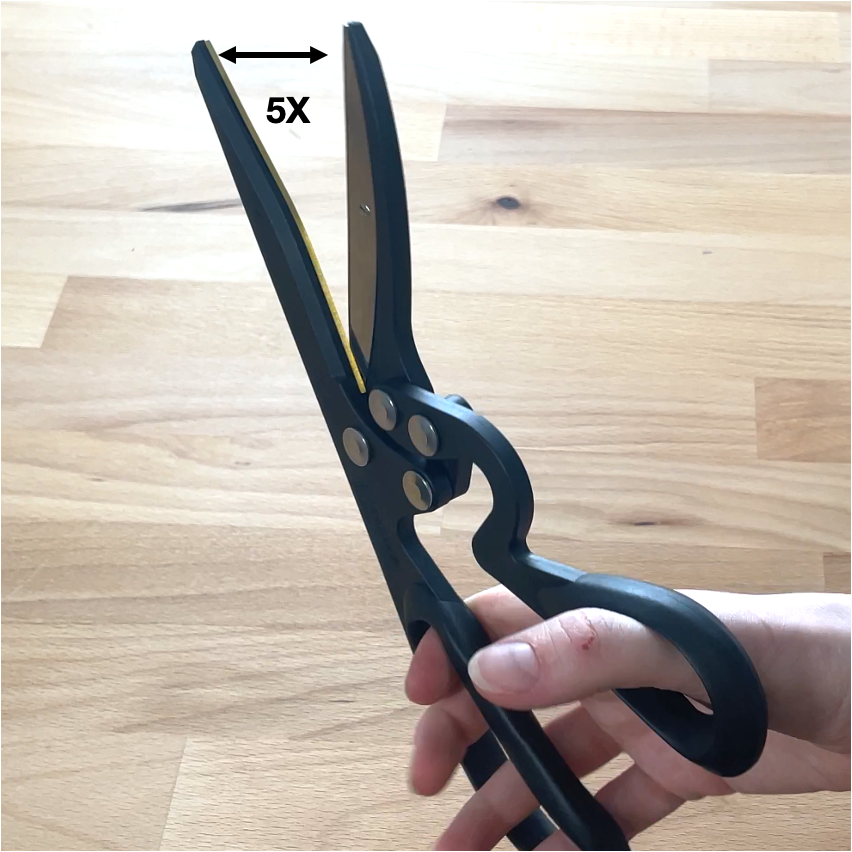
Gently close the scissors while slightly pushing the arms apart. Caution: only touch the frame, place the hand under the base arm and use the thumb on the top frame to give a slight push
Tighten the adjustment screw until you feel some resistance, then turn another quarter
Open and close the scissorsa few times
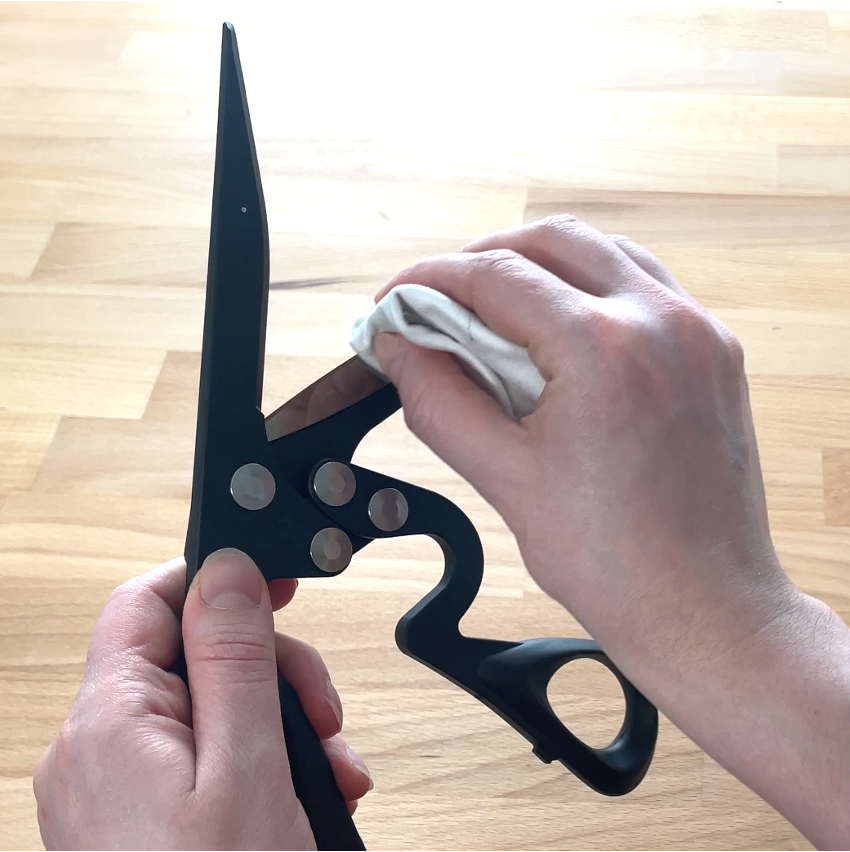
Open the arms completely and wipe the blades with a fabric cloth.
Caution: stabalize the scissors by the handles/4-bar-linkage to avoid the scissors from closing
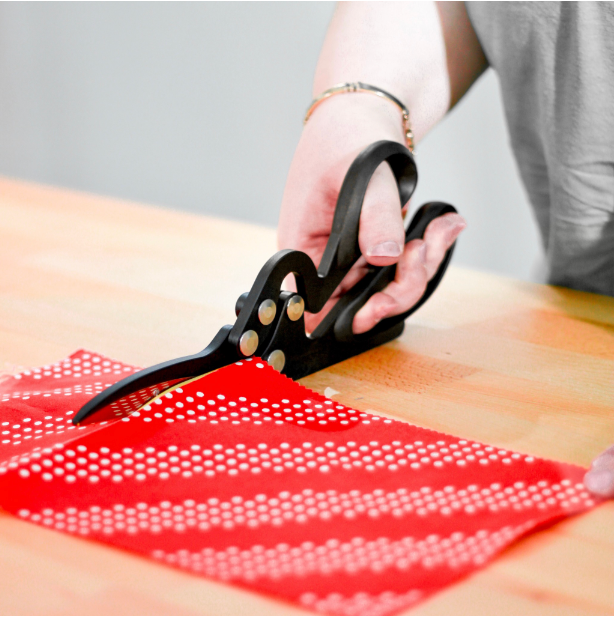
Done!